 Save Pin
 The week my best friend's daughter graduated, I found myself standing in the kitchen at midnight, frosting a cake that needed to be perfect. Not because of any fancy baking credential, but because she'd spent four years helping that girl with calculus homework, pep talks, and everything in between. There's something about a graduation cake that goes beyond dessert—it's edible proof that someone made it. That night, watching the butter and sugar transform into clouds of frosting, I realized this cake would taste like celebration, but it would feel like love.
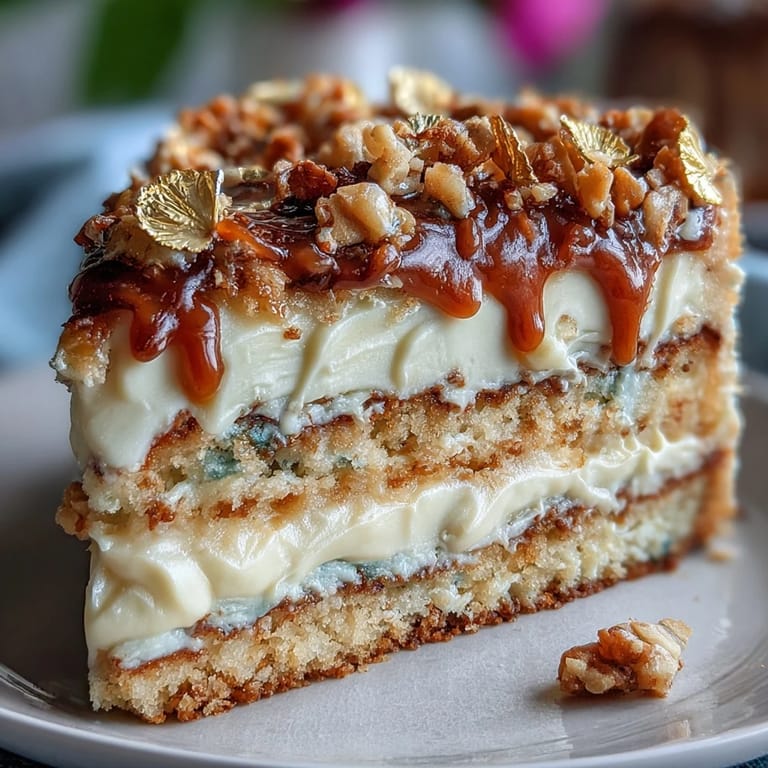
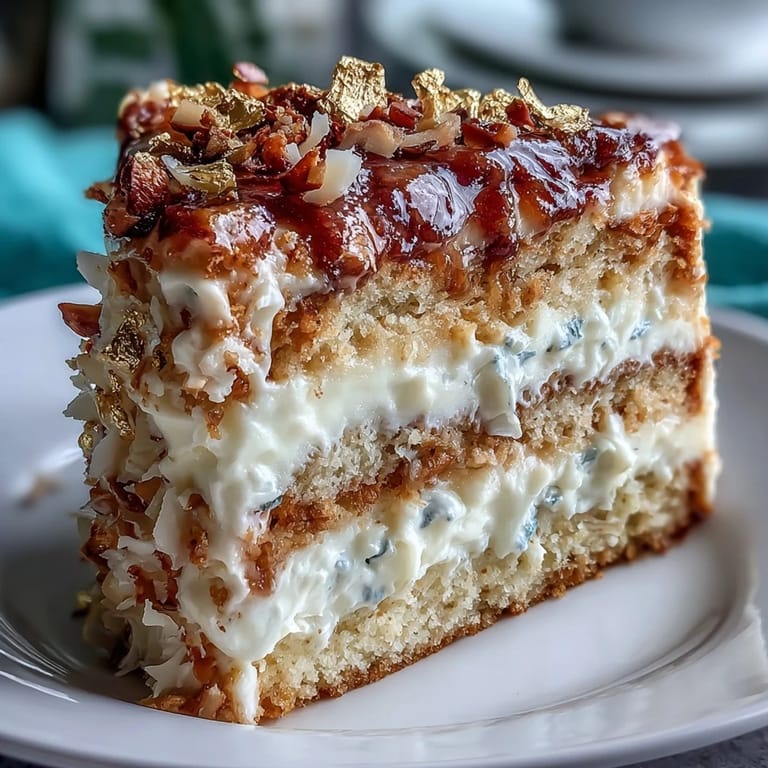
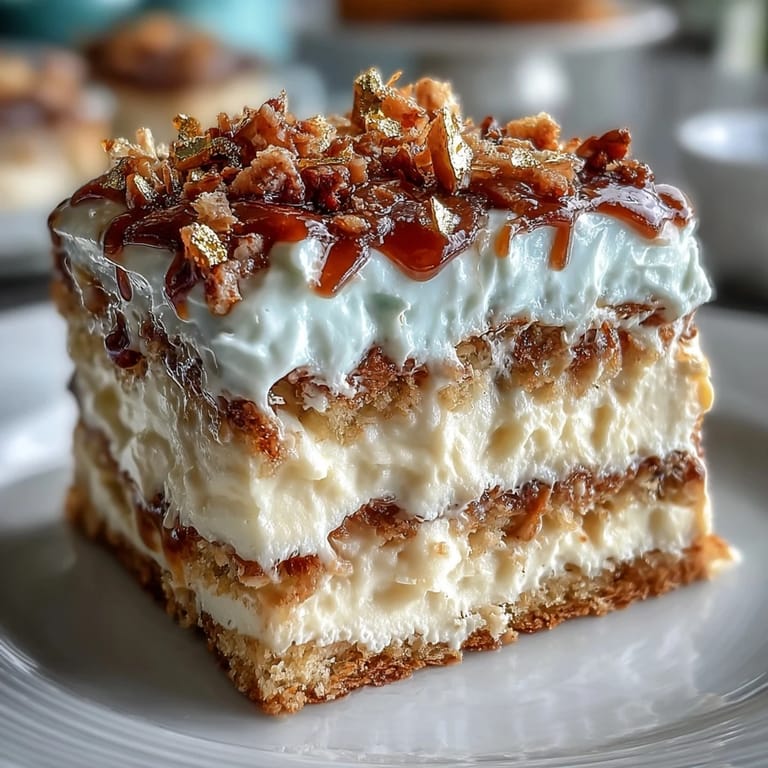
I'll never forget the moment we carried that cake into the graduation party. The gold caught the light as we set it down, and suddenly the whole room shifted—this wasn't just dessert anymore, it was the centerpiece. Three generations gathered around it, phones appeared, and for a solid minute, everyone was taking photos like the cake was a celebrity. Seeing something you made with your own hands become the moment people remember from an entire party—that changes how you feel about baking forever.
Ingredients
- All-purpose flour (2 ½ cups): The foundation of a tender crumb; sifting it before measuring gives you a lighter cake that won't turn dense.
- Baking powder (2 ½ tsp): This is your leavening agent, so make sure yours isn't sitting in the back of the cabinet expired—fresh baking powder makes all the difference in how the cake rises.
- Salt (½ tsp): A pinch of salt amplifies the vanilla flavor in ways that seem impossible until you taste it; don't skip it.
- Unsalted butter (1 cup for cake, 1 ½ cups for frosting): Room temperature butter creams properly and creates that light, fluffy texture; cold butter won't cooperate.
- Granulated sugar (2 cups): This feeds the butter during creaming, incorporating air that makes the cake fluffy rather than dense.
- Eggs (4 large, room temperature): Cold eggs won't blend smoothly into the batter; set them out while you prep other ingredients.
- Vanilla extract (1 tbsp for cake, 2 tsp for frosting): Use pure vanilla, not imitation; the taste difference is worth the extra cost on a special occasion cake.
- Whole milk (1 cup for cake, 3–4 tbsp for frosting): Room temperature milk prevents the batter from seizing up when you add it.
- Powdered sugar (5 cups): Sifted before measuring keeps lumps out of your frosting; lumpy frosting is technically fine, but it looks gritty.
- Edible gold foil sheets: These are delicate and need dry hands or tweezers to apply; they're the sparkle that makes people gasp when they see the cake.
- Diploma topper: Store-bought ones are reliable, but making one from fondant feels more personal and gives you full control over the design.
Tired of Takeout? 🥡
Get 10 meals you can make faster than delivery arrives. Seriously.
One email. No spam. Unsubscribe anytime.
Instructions
- Set up your workspace:
- Preheat the oven to 350°F and grease two 9-inch round pans with butter, then line the bottoms with parchment paper so the cakes release cleanly. This step only takes two minutes but saves you from a crumbled disaster later.
- Mix your dry ingredients:
- Whisk flour, baking powder, and salt together in a medium bowl until they're evenly combined. This distributes the leavening agent throughout the flour, which is how you get even rising.
- Cream butter and sugar:
- In a large bowl with an electric mixer, beat softened butter and sugar together for 3–4 minutes until the mixture looks pale, fluffy, and almost like clouds. This is the most important step for a tender cake; rushing it means denser crumb.
- Add eggs one at a time:
- Drop in each egg individually and beat well after each addition before adding the next one. This ensures the eggs emulsify properly into the batter and create a smooth, homogeneous mixture.
- Stir in the vanilla:
- Add vanilla extract to the mixture and blend until combined; the batter at this point should smell wonderful.
- Alternate flour and milk:
- Add about a third of the flour mixture, then a third of the milk, alternating and always starting and ending with flour. Overmixing once you add flour develops gluten, which toughens the cake, so stir just until combined.
- Divide and bake:
- Divide the batter evenly between the prepared pans and smooth the tops. Bake for 28–32 minutes until a toothpick inserted in the center comes out clean or with just a few moist crumbs.
- Cool properly:
- Let the cakes cool in their pans for 10 minutes, which allows them to set slightly, then turn them out onto wire racks to cool completely. Warm cakes are fragile; a cool cake is sturdy enough to frost.
- Make the buttercream:
- Beat softened butter on high speed for about 3 minutes until it's pale and creamy, then gradually add sifted powdered sugar while mixing. This prevents lumps and creates a light, fluffy frosting.
- Adjust consistency:
- Add vanilla, salt, and milk or heavy cream a tablespoon at a time until you reach a consistency that's smooth and spreadable but not runny. Buttercream thickens as it sits, so it's easier to add liquid than to fix frosting that's too thin.
- Level and layer:
- If your cakes have domed tops, use a serrated knife to level them so they stack evenly. Place the first layer on your serving plate, spread a generous layer of buttercream on top, and set the second layer on it.
- Apply the crumb coat:
- Spread a thin layer of frosting around the entire cake to trap any stray crumbs, then chill for 30 minutes. This step prevents crumbs from showing in your final frosting layer.
- Frost the final layer:
- Once chilled, apply the remaining buttercream smoothly and evenly around the cake using an offset spatula. A cake turntable helps you rotate smoothly as you frost, but a cake stand works too.
- Apply edible gold:
- Using clean tweezers or dry fingers, carefully place edible gold foil sheets on the frosting in whatever pattern appeals to you—stripes, splatters, or scattered patches all look elegant. Work in a low-humidity area if possible, as moisture makes gold foil stick to your fingers instead of the cake.
- Top with the diploma:
- Position your diploma topper at the center or side of the cake, add any optional sprinkles or confetti, then chill briefly to set everything. Serve at room temperature so the buttercream is soft and creamy.
 Save Pin
 When that graduate cut into the cake hours later, surrounded by people who'd known her since elementary school, the cake's vanilla fragrance filled the room and everything felt right. Graduation cakes carry a specific kind of weight—they're not just about celebrating an achievement, they're about honoring the person and the moment. Making one reminds you that the best celebrations taste like butter, care, and someone saying, 'You matter.'
Why Room Temperature Matters More Than You'd Think
The difference between a perfectly smooth batter and a broken, curdled-looking one often comes down to whether your eggs and milk are cold or room temperature. Cold ingredients don't blend smoothly into creamed butter and sugar because the temperatures are too different—the mixture seizes up instead of incorporating. I learned this the hard way during my second attempt, when I grabbed eggs straight from the fridge and ended up with a batter that looked grainy until it baked, resulting in a texture that was slightly gritty instead of silky. Now I set eggs out for 15 minutes before baking, and every single cake tastes noticeably better.
The Secret to Frosting That Looks Professional
A crumb coat isn't just a baker's trick—it's the difference between frosting that looks homemade in a rough way and frosting that looks intentional and polished. That thin first layer seals in crumbs so they don't get dragged into your final frosting layer, which is why professionals never skip it. The 30-minute chill after the crumb coat also sets up the frosting enough that the final layer goes on smoothly without dragging the base coat, and honestly, watching a cake transform from rustic to refined during that final frosting is one of those small kitchen moments that makes you feel like a real baker.
Gold Foil, Toppings, and the Details That Create Magic
Edible gold foil costs almost nothing but transforms a homemade cake into something that looks like it arrived from a luxury bakery, which is why it's one of my favorite secret weapons. The key is working with clean, dry hands and placing the foil while your frosting is still slightly sticky so it adheres but not so wet that your hands slide through it. You can arrange the gold in patterns or let it fall randomly for an organic, scattered look that honestly works either way. If you want to customize further, use gel food coloring in your buttercream to match school colors, make the diploma topper from fondant using edible markers for a fully edible cake, or add sprinkles and confetti for extra sparkle.
- Edible gold foil must stay dry during application, so work in a humidity-controlled space if your kitchen tends to be steamy.
- A diploma topper made from fondant is more impressive than store-bought and gives you full creative control over colors and details.
- Let the finished cake chill for at least 15 minutes before serving so the frosting is set but still creamy at room temperature.
 Save Pin
 This cake isn't just for graduations—it works for any celebration that deserves something special and homemade. Every time you make it, you're choosing to invest time and care in a moment, and that choice is what makes it taste unforgettable.
Recipe FAQs
- → How can I make the cake layers more moist?
Incorporate a teaspoon of almond extract into the batter for added moisture and flavor depth.
- → What is the best way to apply edible gold foil?
Handle gold foil with dry hands or tweezers carefully to avoid tearing and place gently onto the chilled frosting.
- → Can I customize the buttercream color?
Gel food coloring can be added to the buttercream to match school colors or any desired theme.
- → What tools are essential for decorating this cake?
An offset spatula and tweezers are helpful for smooth frosting application and precise placement of gold foil and toppers.
- → How should the cake be served after decorating?
Allow the cake to set briefly in the fridge, then serve at room temperature for the best flavor and texture.