 Save Pin
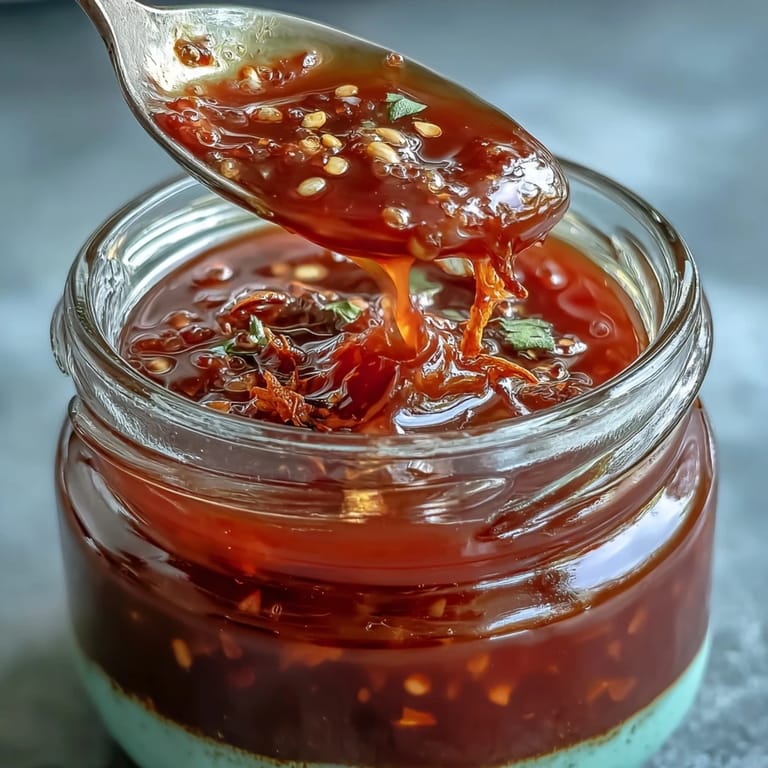
 Fiery, tangy, and rich with umami—homemade fermented hot sauce is a delicious adventure for your kitchen. Fermentation unlocks deep, complex flavors and a gentle acidity that can’t be matched by store-bought sauces. With just a handful of ingredients and a little patience, you can enjoy a bright, spicy, and probiotic condiment customized to your taste.
 Save Pin
 By fermenting the chilies and aromatics, the natural flavors mellow and combine to create a sauce that is punchy, uniquely sour, and loaded with character. It’s easy to adjust the spice level and tweak with different spices or vegetables, so you’ll never get bored with the results.
Ingredients
Tired of Takeout? 🥡
Get 10 meals you can make faster than delivery arrives. Seriously.
One email. No spam. Unsubscribe anytime.
- 300 g (10 oz) fresh red chili peppers (your favorite variety, stems removed)
- 1 small red bell pepper, seeded
- 1 small carrot, peeled (optional, for sweetness)
- 4 garlic cloves, peeled
- 1 small shallot or 1/2 small onion, peeled
- 500 ml (2 cups) filtered water
- 15 g (1 tbsp) non-iodized salt (sea or kosher)
- 2 tbsp apple cider vinegar or distilled white vinegar
Instructions
- 1. Dissolve the salt in 500 ml filtered water to create the brine.
- 2. Roughly chop the chilies, bell pepper, carrot, garlic, and shallot or onion.
- 3. Place vegetables in a clean 1-liter jar.
- 4. Pour the brine over until vegetables are submerged. Use a fermentation weight or a small zip-top bag of brine to keep everything under the liquid.
- 5. Loosely cover (lid with airlock or cheesecloth secured with a rubber band) to allow gases to escape.
- 6. Ferment at room temperature (18–22°C / 65–72°F) away from direct sunlight for 7 days. Check daily to keep vegetables submerged. Skim off any surface mold or foam.
- 7. After 7 days, pour the contents into a blender. Add the vinegar and blend until smooth (– straining optional for a silky sauce).
- 8. Bottle in a sterilized jar. Store in refrigerator up to 3 months.
Zusatztipps für die Zubereitung
Achte darauf, dass alle Gläser und Utensilien sehr sauber sind, um Fehlgärung zu verhindern. Kontrolliere täglich, ob das Gemüse noch mit Lake bedeckt ist, und entferne eventuell entstehenden Schimmel an der Oberfläche sofort. Verwende ausschließlich nicht jodiertes Salz, damit die Milchsäurebakterien gut arbeiten können.
Varianten und Anpassungen
Experimentiere mit Pfefferkörnern, Koriandersamen, Senfkörnern oder Zucker für unterschiedliche Geschmacksrichtungen. Für mehr Schärfe Habanero oder Thai-Chilis verwenden oder mit milderen Sorten abmildern. Reisessig sorgt für einen besonders sanften, runden Geschmack.
Serviervorschläge
Diese Sauce passt perfekt zu Tacos, Burgern, Eierspeisen, Bowls und gegrilltem Gemüse. Auch als Würze in Dressings, Suppen oder Dips ist sie ein echter Geheimtipp. Ein Spritzer im Tomatensaft macht sogar Bloody Marys noch besser!
 Save Pin
 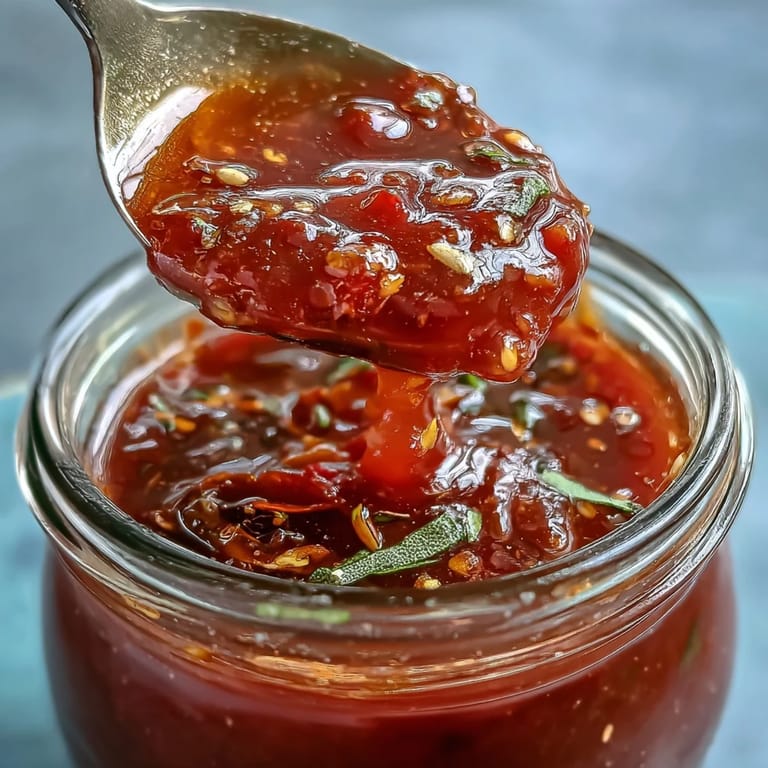 Save Pin
 Ob als Geschenk oder zum Selbergenießen – deine selbstgemachte fermentierte Hot Sauce beeindruckt mit natürlicher Würze, lebendigem Geschmack und liebevoller Handarbeit. Viel Freude beim Ausprobieren und Genießen!
Recipe FAQs
- → How long should the chili mix ferment?
Ferment at a cool room temperature (about 18–22°C / 65–72°F) for roughly 7 days. Taste as it progresses: a week yields bright lactic tang with developed umami; longer will deepen sourness and complexity.
- → Which peppers work best?
Use a mix of red chiles like Fresno, jalapeño or serrano for balance; add bell pepper for sweetness and volume. For extra heat, include habanero or Thai chilies sparingly.
- → How do I keep the vegetables submerged?
Weigh them down with a fermentation weight or a small zip-top bag filled with brine so air can't reach the solids. Check daily and skim any surface scum; discard any fuzzy mold.
- → Can I skip straining the blended sauce?
Yes. Straining yields a silky pourable sauce; leaving it unstrained preserves body and texture for a rustic finish. Adjust thickness by adding extra brine or vinegar when blending.
- → What vinegar should I use at the finish?
Apple cider or white distilled vinegar adds bright acidity; rice vinegar gives a milder tang. Add 1–2 tablespoons to taste to stabilize flavor and balance the fermentation.
- → How long will the sauce keep?
Once blended and refrigerated in a sterilized bottle, it will keep for up to three months. Flavor will continue to evolve in the fridge, often mellowing and gaining complexity.