 Save Pin
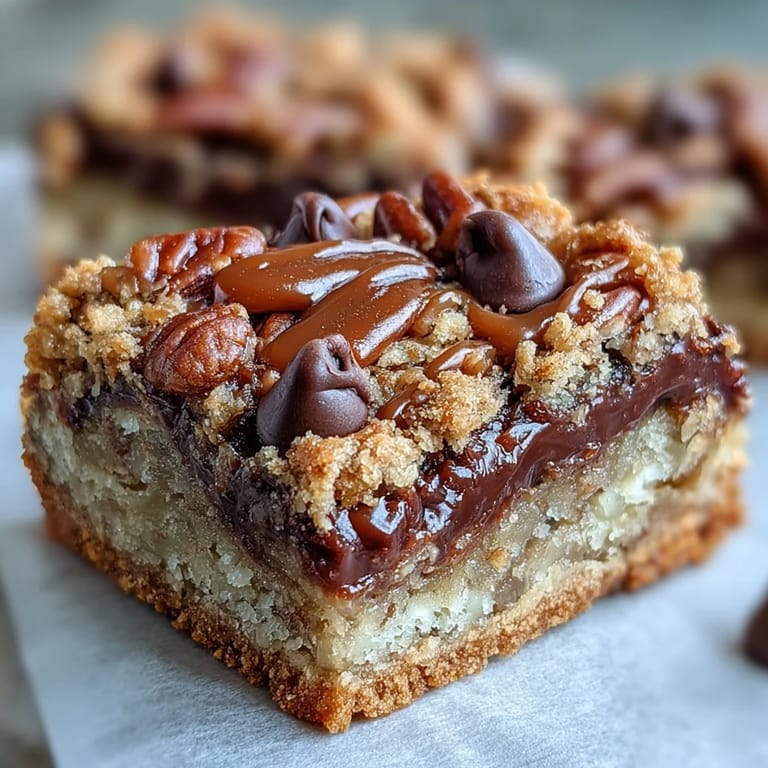
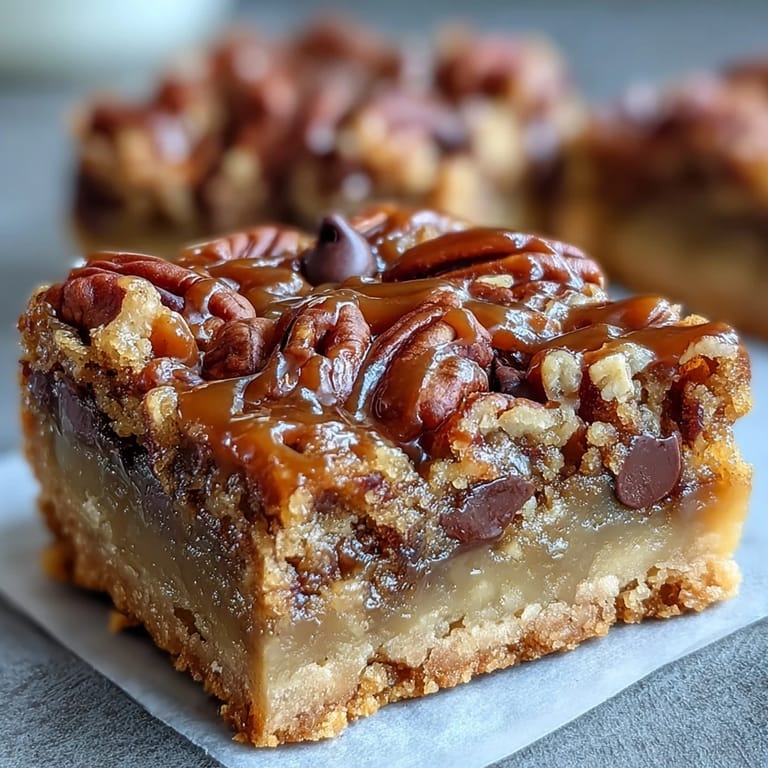
 The oven timer buzzed just as my neighbor knocked on the door, drawn by the smell of toasted pecans and warm caramel drifting through the hallway. I had been experimenting with a crumbly oat base all afternoon, trying to get that perfect balance between structure and chew. When I pulled the pan out and saw the golden topping crackling over pools of melted chocolate, I knew I had something worth sharing. She left with three bars wrapped in foil, and by the next morning, she was back asking for the recipe.
I made these bars for a potluck once, stacking them in a glass dish with parchment between the layers. By the time I set them down, two people were already hovering, asking what they were. The caramel had seeped into every crevice, binding the chocolate and pecans into sticky, irresistible squares. I watched someone take a bite and close their eyes, and I felt that quiet pride you get when a recipe just works.
Ingredients
- All-purpose flour: This forms the tender base of the crust and topping, creating structure without heaviness when mixed with oats.
- Rolled oats: They add chew and a rustic texture that contrasts beautifully with the smooth caramel and chocolate layers.
- Brown sugar: The molasses notes deepen the flavor and help the crust turn golden and slightly crisp at the edges.
- Granulated sugar: Balances the brown sugar and keeps the crumb mixture from becoming too dense or sticky.
- Unsalted butter, melted: Binds the crust together and adds richness, I always let it cool slightly so it doesnt clump the dry ingredients.
- Salt: Just a pinch sharpens the sweetness and brings out the caramel and chocolate flavors.
- Baking soda: Helps the crust and topping puff slightly and turn golden in the oven.
- Semi-sweet chocolate chips: They melt into puddles over the warm crust, creating pockets of chocolate that stay soft even after cooling.
- Chopped pecans: Toasted pecans add crunch and that classic turtle candy nuttiness, I always taste one before adding to check for freshness.
- Caramel sauce: Store-bought works perfectly here, but homemade caramel adds a deeper, less sugary sweetness if you have the time.
- Heavy cream: Thins the caramel just enough to pour smoothly and creates a luscious, glossy layer that soaks into the bars.
Tired of Takeout? 🥡
Get 10 meals you can make faster than delivery arrives. Seriously.
One email. No spam. Unsubscribe anytime.
Instructions
- Prep the Pan:
- Preheat your oven to 350°F and grease a 9x9-inch baking pan generously with butter, or line it with parchment paper for easy lifting. I like to let the parchment hang over the edges so I can pull the whole block out later.
- Make the Crumb Base:
- In a large bowl, stir together flour, oats, brown sugar, granulated sugar, melted butter, salt, and baking soda until the mixture looks like wet sand. Reserve 1 cup of this crumb for the topping and press the rest firmly into the bottom of the pan to form an even crust.
- Prebake the Crust:
- Slide the pan into the oven and bake for 10 minutes, just until the edges start to turn golden. This step sets the base so it doesnt turn soggy under all that caramel.
- Warm the Caramel:
- While the crust bakes, combine caramel sauce and heavy cream in a small saucepan over medium-low heat, stirring constantly until smooth and glossy. Remove from heat once its well blended and pourable.
- Layer the Fillings:
- Pull the crust from the oven and immediately scatter chocolate chips evenly over the hot surface, then sprinkle chopped pecans on top. The warmth will start melting the chocolate right away.
- Pour the Caramel:
- Drizzle the warm caramel sauce evenly over the chocolate and pecans, letting it pool and seep into the gaps. Work quickly so the caramel stays fluid and spreads easily.
- Add the Crumb Topping:
- Sprinkle the reserved crumb mixture evenly over the caramel layer, covering as much surface as possible. This topping will bake into golden, buttery clusters.
- Bake Until Golden:
- Return the pan to the oven and bake for 15 to 20 minutes, until the topping is golden brown and the caramel is bubbling at the edges. Watch closely in the final minutes to prevent over-browning.
- Cool Completely:
- Remove the pan from the oven and set it on a wire rack to cool completely, at least 30 minutes. This resting time lets the caramel set and makes cutting clean, even squares much easier.
- Cut and Serve:
- Once cooled, lift the bars out using the parchment overhang if you lined the pan, then cut into 16 squares with a sharp knife. Wipe the blade between cuts for the neatest edges.
 Save Pin
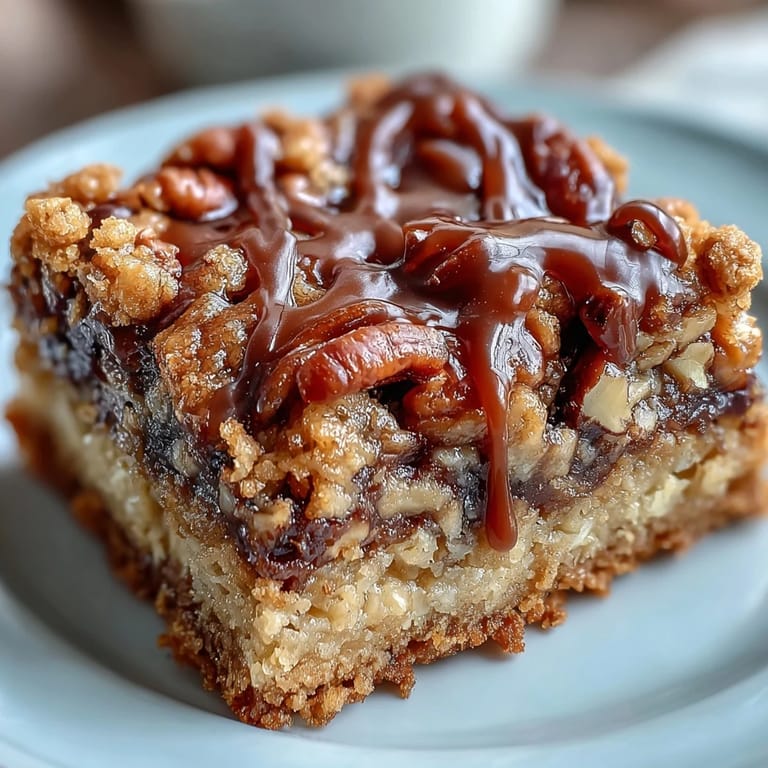
 One evening, I served these bars after dinner, and my friend reached for a second piece before she even finished the first. She said it tasted like the turtle candies her grandmother used to keep in a glass jar on the coffee table. That comparison stuck with me because its exactly what I was hoping for, something familiar and comforting, but made from scratch and meant to be shared warm from the pan.
Storing and Make-Ahead Tips
These bars keep beautifully in an airtight container at room temperature for up to a week, though Ive never had a batch last that long. If you want to prep ahead, you can bake the crust and make the caramel a day in advance, then assemble and finish baking just before serving. I sometimes freeze individual bars wrapped in plastic wrap and parchment, then thaw them at room temperature for an hour when a craving hits.
Customizing Your Bars
Ive swapped pecans for walnuts or slivered almonds depending on what I have on hand, and each version brings its own personality. A pinch of flaky sea salt sprinkled over the caramel before adding the crumb topping turns these into salted caramel turtle bars with barely any extra effort. You can also drizzle melted dark chocolate over the cooled bars for a more intense chocolate finish, or stir a teaspoon of espresso powder into the caramel for a subtle mocha twist.
Serving Suggestions
I love serving these bars slightly warm with a scoop of vanilla ice cream melting over the top, the contrast between cold cream and gooey caramel is unforgettable. They also pair beautifully with strong coffee or a glass of cold milk, especially in the afternoon when you need something sweet and satisfying. For gatherings, I cut them into smaller bite-sized pieces and arrange them on a platter with parchment squares underneath to keep fingers clean.
- Warm them for 10 seconds in the microwave to bring back that fresh-from-the-oven softness.
- Dust the tops lightly with powdered sugar for a more elegant presentation at dinner parties.
- Pack them in tins with wax paper for gifting during the holidays, they travel well and always impress.
 Save Pin
 These bars have become my go-to when I want something that feels indulgent but doesnt require fancy technique or hard-to-find ingredients. Theyre proof that a few simple layers, done right, can turn into something people remember long after the pan is empty.
Recipe FAQs
- → Can I use homemade caramel instead of store-bought?
Yes, homemade caramel works beautifully. Just ensure it's smooth and pourable when combined with the heavy cream for even distribution over the chocolate and pecans.
- → Why do the bars need to cool completely before cutting?
Cooling allows the caramel and chocolate layers to set properly, preventing the bars from falling apart when sliced. This ensures clean cuts and maintains the layered structure.
- → Can I substitute the pecans with other nuts?
Absolutely. Walnuts or almonds work well as substitutes. Toast them lightly before adding to enhance their flavor and crunch in the finished bars.
- → How do I prevent the crust from becoming too hard?
Bake the crust just until slightly golden during the initial 10-minute bake. The melted butter and proper ratio of oats to flour keeps it tender while providing structure.
- → What's the best way to store these bars?
Store in an airtight container at room temperature for up to one week. Layer parchment paper between stacked bars to prevent sticking from the caramel layer.
- → Can I double this batch for a larger crowd?
Yes, double all ingredients and use a 9x13-inch pan. Baking times may increase slightly, so watch for golden brown topping as your doneness indicator.